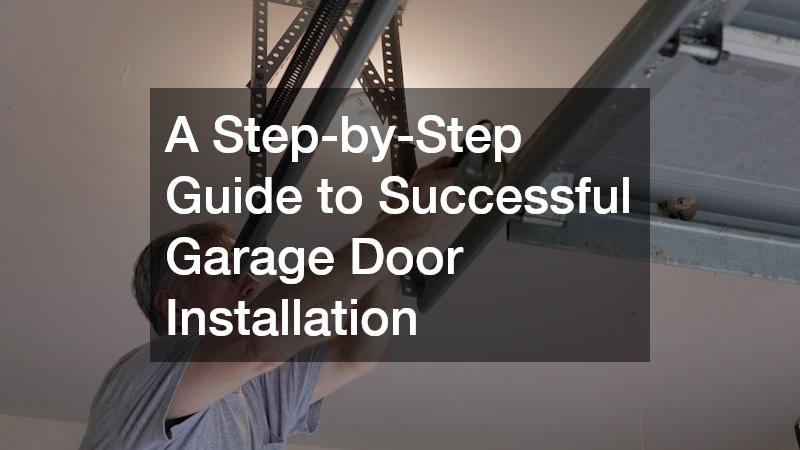
In this guide, we’ll walk you through the process of installing a garage door, covering everything from preparation to final adjustments. Whether you’re a DIY enthusiast or simply looking to save on installation costs, this comprehensive guide will equip you with the knowledge and confidence to tackle this project with ease. Installing a garage door yourself can be a rewarding endeavor, offering not only functional benefits but also the satisfaction of completing a home improvement project.
Essential Tools
Before you begin, it is crucial to gather all the essential tools to facilitate the garage door installation process efficiently. Basic tools such as a power drill, various socket sizes, and screwdrivers are needed to handle the assembly and mounting of components effectively.
Having these tools ready ensures a smooth workflow, reducing interruptions during installation.
Besides the power drill and screwdrivers, a sturdy ladder is essential for reaching higher parts of the installation. A level and measuring tape are also vital for ensuring that the tracks and panels are aligned accurately, preventing operational issues later. Proper alignment is crucial to the functionality of your garage door system.
Required Materials
To begin the installation, ensure you have all the necessary materials, which include the garage door kit, tracks, and brackets. The garage door kit typically contains all the required panels and installation instructions that are specific to your door model. It is crucial to verify that all components are included in the kit before starting the assembly.
Equally important are the tracks, which serve as the pathway for the door panels to move smoothly. Proper installation and alignment of these tracks are essential for the door’s functionality and safety. Brackets are used to mount the tracks securely to the walls, facilitating the structural support necessary for the door’s operation.
Removing Door Panels and Tracks
Next, carefully remove the door panels and tracks in a systematic fashion, beginning from the top panel and working downwards. Detaching the panels requires unscrewing any brackets and supports that hold them in place; this should be done with caution to prevent them from falling and causing injury or damage. Each panel should be lifted and set aside with the help of another person, to ensure stability and balance during the removal.
Once the panels are removed, the focus shifts to the tracks, which are typically fastened to the garage walls and ceiling. Loosening the bolts or screws that hold the tracks in place allows you to gently detach them from the installation area. Care must be taken to avoid scratching or denting the surrounding surfaces during this process.
Disposing of the Old Door
Proper disposal of the old garage door is not only environmentally responsible but can also free up space for the new installation. Many garage doors are made of recyclable materials like steel or aluminum, and local recycling centers often accept these components. Before disposal, it’s worth consulting your municipality for guidelines and facilities that accept bulky items like garage doors.
If the door is in fairly good condition, consider donating it to charity organizations or selling it for parts, which can extend its usability. Some companies specialize in refurbishing garage doors and might offer pickup services, saving you the trouble of transportation. These services not only aid the environment but also benefit community members in need of affordable housing materials.
Mounting the Garage Door Panels
With the tracks and springs in place, the next step is to mount the garage door panels. Start with the bottom panel, ensuring it is perfectly level before securing it in place. The alignment of this panel is crucial as it sets the stage for the subsequent panels.
Once the first panel is secured, proceed by stacking and attaching each subsequent panel one at a time, fixing them securely with hinges that connect to the panel below. It often requires two people to lift and position each panel accurately, aligning them flush with the tracks and supporting structures. Proper alignment minimizes operational issues and enhances the door’s overall aesthetics.
Connecting the Garage Door Opener
The final step involves integrating the garage door opener into the system for automation and ease of use. Begin by attaching the opener rail to the reinforcement bracket located on the door panel, and install the opener following the manufacturer’s instructions. Each opener may have specific installation requirements and guidelines that should be carefully followed to optimize functionality.
With patience and the right preparation, installing a new garage door can be a rewarding DIY project that enhances the functionality and aesthetic of your home. From gathering the necessary tools and materials to successfully mounting the panels and connecting the opener, this guide has outlined every crucial step in the process. Following these detailed instructions provides a comprehensive path to achieving a quality installation that combines safety, durability, and convenience.
.


