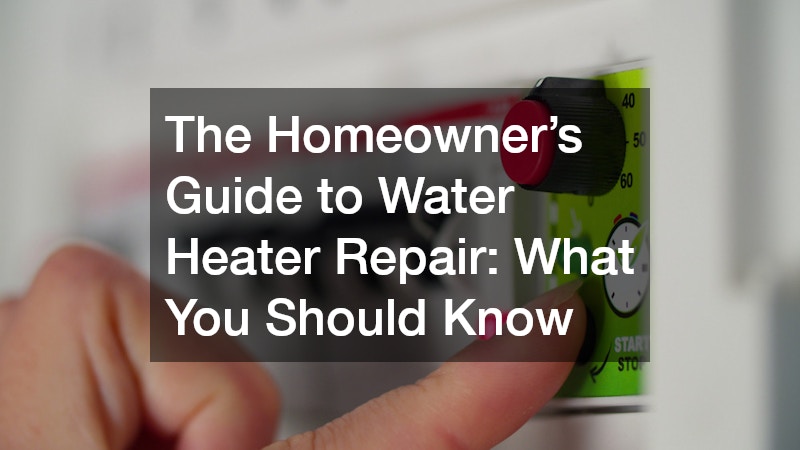
Understanding how to maintain and repair a water heater can save homeowners both time and money. This guide aims to provide essential information on common water heater issues and how to address them, ensuring your home has hot water when you need it. By mastering basic maintenance and repair techniques, you can enhance the performance and longevity of your water heater, ultimately contributing to a more comfortable and efficient home environment.
Identifying Signs of Water Heater Problems
Recognizing the symptoms of potential issues can help you pinpoint and address problems before they escalate. Common signs of trouble include inconsistent water temperatures, unusual noises, and visible leaks around the unit.
By staying vigilant to these indicators, you can address issues proactively, preventing more extensive damage.
Most water heater problems become apparent through changes in performance or physical signs of wear. If your shower water suddenly runs cold or hot water seems scarce, your water heater might be experiencing difficulties. Additionally, signs such as rusty water or sediment buildup can indicate internal issues that require attention.
Testing Water Heater Efficiency
Assessing the performance of your water heater is critical for ensuring timely repairs and avoiding inefficiencies. Begin by checking the temperature setting; if the water is not reaching the desired temperature, the thermostat may need adjustment. An efficient water heater should be able to maintain consistent temperatures without an excessive energy draw.
Test the system by turning on different faucets around your home to check for consistency across the outlets. Use a thermometer to confirm the temperature matches the thermostat setting, which should be around 120 degrees Fahrenheit for optimal efficiency. Reduced efficiency often results in higher energy bills, so periodic assessments can help in identifying and rectifying inefficiencies.
Using Diagnostic Tools
Explore different tools and techniques that can aid in the diagnosis of water heater malfunctions. A basic multimeter is invaluable for checking electrical components and ensuring they are receiving and delivering the appropriate voltage. Infrared thermometers can also diagnose temperature consistency issues without the need for physical contact.
Pressure gauges are essential for verifying water pressure levels, ensuring they meet specifications without exceeding limits that could cause damage. An inspection mirror allows thorough visual checks around the unit, even in hard-to-see places, facilitating the identification of leaks or corrosion. Combining these diagnostic tools enhances your capability to detect and address issues effectively.
Flushing the Tank
One essential maintenance task for your water heater is regular flushing of the tank to remove sediment buildup. Over time, minerals in the water settle at the bottom of the tank, reducing both its capacity and heating efficiency. Regular flushing mitigates these issues and prolongs the life of your water heater.
To properly flush the tank, first turn off the water heater and allow it to cool down to prevent injury. After ensuring the power is off, attach a garden hose to the drain valve and direct water to a nearby drain. Open the valve, allowing water and sediment to exit the tank; close the valve and refill the tank with clean water, repeating until the expelled water runs clear.
Checking and Replacing the Anode Rod
The anode rod plays a critical role in preventing corrosion and extending the life of your water heater. This metal rod attracts corrosive elements in the water, sparing the tank walls from damage. Regular inspection and timely replacement of the anode rod are necessary preventive measures for homeowners.
To check the condition of the anode rod, first cut the power and water supply to the heater. Unscrew the rod, typically located at the top of the tank, using an appropriate wrench. If the rod is heavily corroded or less than half an inch thick, replace it with a new one to maintain optimal protection for the tank.
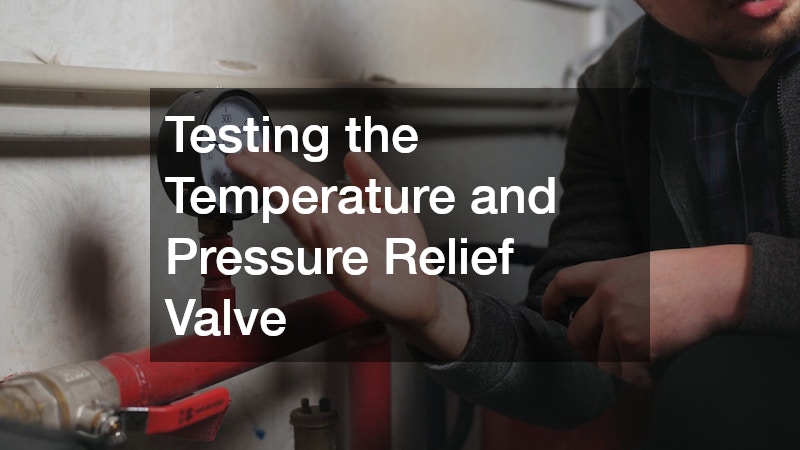
Testing the Temperature and Pressure Relief Valve
Regular testing of the TPR valve ensures safety and proper functioning of the water heater system. The temperature and pressure relief valve is a critical safety feature that prevents the tank from over-pressurizing. Malfunction can lead to catastrophic failure, so periodic tests are essential for safe operation.
To test the TPR valve, place a bucket underneath the discharge pipe and gently lift the test lever to release water. A healthy valve will quickly discharge a burst of hot water and steam, demonstrating its ability to relieve pressure. If the valve does not open, there may be a blockage or malfunction requiring immediate replacement.
Evaluating Cost-Effective Solutions
Assess whether water heater repair or replacement is the most economical choice when facing major water heater problems. While minor fixes can be resolved without breaking the bank, extensive issues may warrant a cost-benefit analysis. Weigh the costs of repairing versus replacing to make informed decisions that suit your budget and long-term needs.
By understanding the common water heater issues and maintenance techniques, homeowners can ensure the longevity and efficiency of their appliances. While some repairs can be performed independently, knowing when to call a professional is key to maintaining a safe and well-functioning water heater system. This approach not only saves money but also assures a consistent hot water supply tailored to your needs, contributing to a comfortable living environment.